Cropping and Positioning Images
Learn to precisely control image display using source and destination rectangles.
In this lesson, we'll learn image positioning and cropping techniques. Here's what we'll cover:
- Source and Destination Rectangles: Learn how to control which parts of an image are rendered and where they appear on screen.
- Cropping: Discover how to display only specific portions of an image.
- Positioning: Learn how to place images precisely where we want them on our destination surface.
- Clipping: Understand what happens when images don't fit entirely on screen and how to detect it.
As a starting point, we'll be building upon the basic application loop and surface-blitting concepts we covered in previous lessons.
Starting Point
We'll start with the code from our previous lesson. To focus on positioning and cropping, we have simplified the Image class, removing the performance optimization that converted the surface format.
Our application currently loads an image named example.bmp and displays it in a window. The image we're using in these examples is available here.
Files
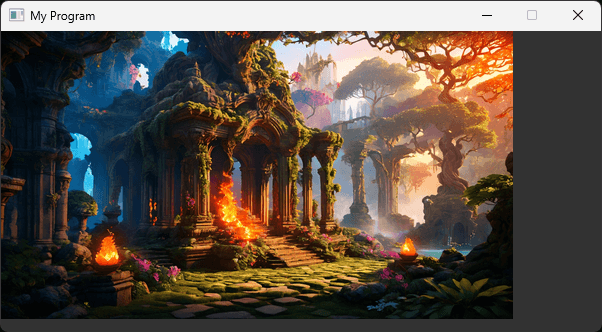
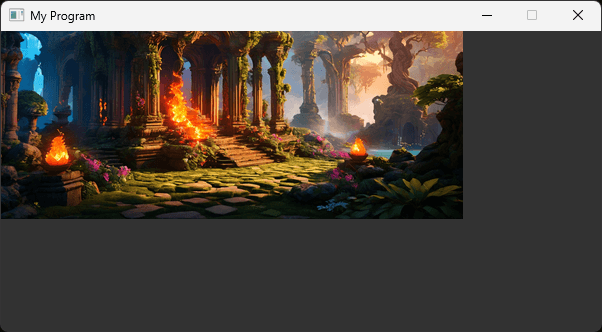
Our program currently renders the following window:
Source and Destination Rectangles
Most of our work in this lesson will be based on the 2nd and 4th arguments we're passing to SDL_BlitSurface():
src/Image.h
// ...
class Image {
public:
// ...
void Render(SDL_Surface* DestinationSurface) {
if (!ImageSurface) return;
SDL_BlitSurface(
ImageSurface,
nullptr, // Source rectangle
DestinationSurface,
nullptr // Destination rectangle
);
}
// ...
};These two arguments are pointers to SDL_Rect objects representing a source rectangle and destination rectangle respectively. We'll focus on the source rectangle for now.
When we pass a nullptr as the second argument, SDL_BlitSurface() will copy the entire source surface.
To blit only a portion of the image, we'd define an SDL_Rect representing the rectangular area we're interested in. As a reminder, SDL_Rect is a simple struct with 4 members:
x- how far the rectangle is from the left edgey- how far the rectangle is from the top edgew- how wide the rectangle ish- how tall the rectangle is
We can select the entire surface by setting:
xto0yto0wto the surface's width (available through thewmember onSDL_Surface)hto the surface's height (available through thehmember onSDL_Surface)
This creates behavior equivalent to before, where we passed nullptr as the source rectangle:
src/Image.h
// ...
class Image {
public:
Image(const std::string& File)
: ImageSurface{SDL_LoadBMP(File.c_str())} {
if (!ImageSurface) {
std::cout << "Failed to load image: "
<< File << ":\n " << SDL_GetError() << '\n';
} else {
// Initialize SourceRectangle to the full image size
SourceRectangle = {
0, 0, ImageSurface->w, ImageSurface->h
};
}
}
void Render(SDL_Surface* DestinationSurface) {
if (!ImageSurface) return;
SDL_BlitSurface(
ImageSurface, &SourceRectangle,
DestinationSurface, nullptr
);
}
// ...
private:
SDL_Surface* ImageSurface{nullptr};
SDL_Rect SourceRectangle{};
};Cropping
Let's demonstrate how we can update our SourceRectangle to cause our Render() method to blit only a portion of the image:
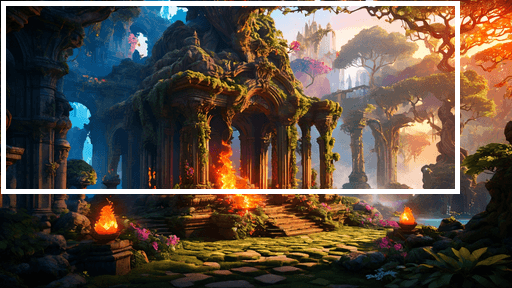
To make our rectangle smaller, we reduce the w and h values:
src/Image.h
// ...
class Image {
public:
Image(const std::string& File)
: ImageSurface{SDL_LoadBMP(File.c_str())} {
if (!ImageSurface) {
// ...
} else {
SourceRectangle = {
0, 0,
ImageSurface->w - 50,
ImageSurface->h - 100
};
}
}
// ...
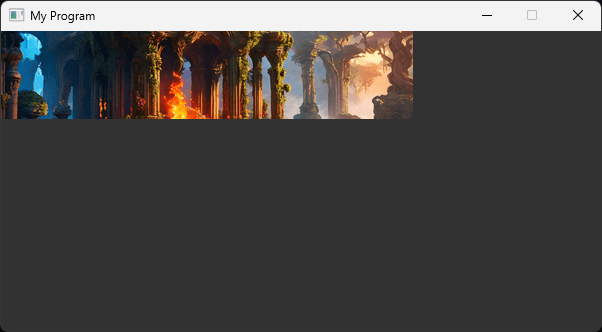
};Our output now looks like this:
Let's move our SourceRectangle to the bottom right of our image:
Our SDL_Rect is currently 50 pixels narrower and 100 pixels shorter than our image so, to move it to the bottom right edge, we use those values for the x and y positions:
src/Image.h
// ...
class Image {
public:
Image(const std::string& File)
: ImageSurface{SDL_LoadBMP(File.c_str())} {
if (!ImageSurface) {
// ...
} else {
SourceRectangle = {
50, 100,
ImageSurface->w - 50,
ImageSurface->h - 100
};
}
}
// ...
};Our output looks like this:
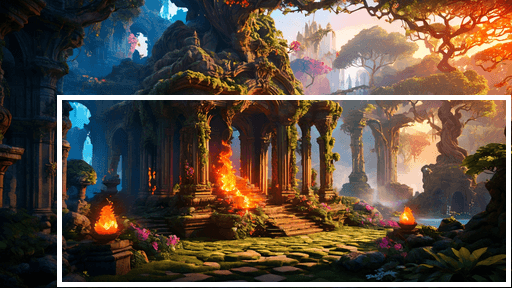
As a final example, let's crop from all edges. We'll exclude 50 pixels from the left and right edges, and 100 pixels from the top and bottom edges:
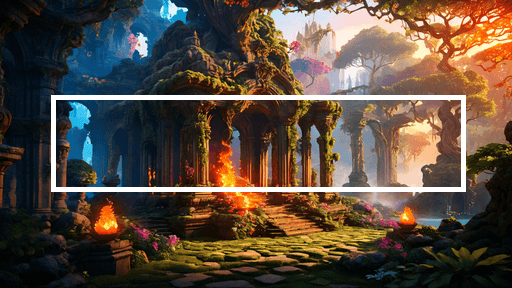
Our SourceRectangle looks like this:
src/Image.h
// ...
class Image {
public:
Image(const std::string& File)
: ImageSurface{SDL_LoadBMP(File.c_str())} {
if (!ImageSurface) {
// ...
} else {
SourceRectangle = {
50, 100,
ImageSurface->w - 100,
ImageSurface->h - 200
};
}
}
// ...
};Our output now looks like this:
Positioning
The fourth argument to SDL_BlitSurface() is an SDL_Rect representing where we want the image to be blitted on our destination surface. The x and y properties specify where we want the image positioned within the destination surface. The w and h properties of the destination rectangle are ignored.
To replicate the default behavior of SDL_BlitSurface(), we'd set the x and y values to 0. This places the image at the top left edge of the surface:
src/Image.h
// ...
class Image {
public:
// ...
void Render(SDL_Surface* DestinationSurface) {
if (!ImageSurface) return;
SDL_BlitSurface(
ImageSurface, &SourceRectangle,
DestinationSurface, &DestinationRectangle
);
}
// ...
private:
SDL_Surface* ImageSurface{nullptr};
SDL_Rect SourceRectangle{};
SDL_Rect DestinationRectangle{0, 0, 0, 0};
};To move the image away from the top-left edge, we'd update the x and y components of the destination rectangle accordingly:
src/Image.h
// ...
class Image {
//...
private:
SDL_Surface* ImageSurface{nullptr};
SDL_Rect SourceRectangle{};
SDL_Rect DestinationRectangle{50, 100, 0, 0};
};
Clipping
As we can see in the previous examples, we sometimes copy fewer pixels than our source rectangle contains. Clipping occurs when SDL needs to adjust what's being rendered. This happens in two main scenarios:
Source clipping: When the source rectangle extends beyond the boundaries of the source image. In this case, SDL3 only renders the part of the rectangle that's within the image.
Destination clipping: When the image (or part of it) would be rendered outside the boundaries of the destination surface. This can happen if:
- The destination position would place the image partially or fully off-screen.
- The image is larger than the destination surface.
In both cases, SDL automatically adjusts the rendering to show only the visible portion of the image.
In SDL2, SDL_BlitSurface() would modify the destination rectangle to tell us the final dimensions of the blitted area. This feature has been removed in SDL3. If we need to detect and react to clipping, we must now do it manually.
We can do this using SDL_GetRectIntersection(). This function calculates the overlapping area between two rectangles. We can check the intersection between our intended blit area and the boundaries of the destination surface.
src/Image.h
// ...
class Image {
public:
// ...
void Render(SDL_Surface* DestinationSurface) {
if (!ImageSurface) return;
SDL_BlitSurface(
ImageSurface, &SourceRectangle,
DestinationSurface, &DestinationRectangle
);
// Manually check for clipping
SDL_Rect IntendedDestRect{
DestinationRectangle.x, DestinationRectangle.y,
SourceRectangle.w, SourceRectangle.h
};
SDL_Rect DestBounds{
0, 0, DestinationSurface->w, DestinationSurface->h
};
SDL_Rect ClippedRect;
SDL_GetRectIntersection(
&IntendedDestRect, &DestBounds, &ClippedRect
);
if (ClippedRect.w != SourceRectangle.w) {
std::cout << "Clipping Horizontally\n";
}
if (ClippedRect.h != SourceRectangle.h) {
std::cout << "Clipping Vertically\n";
}
}
// ...
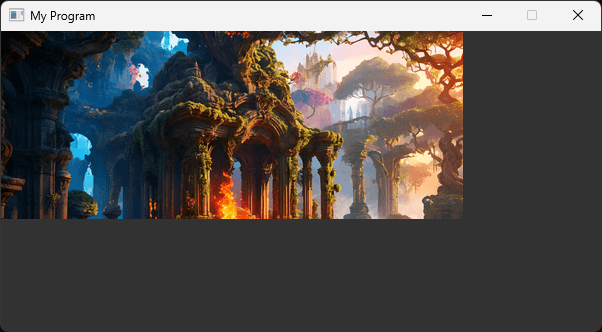
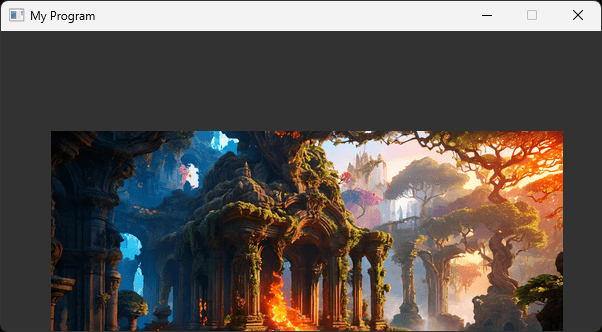
};In our current example, our destination surface (the window) is 600x300, and we are trying to blit a 512x288 image at position (50, 100). The bottom of the image (100 + 288 = 388) extends beyond the bottom of the window (300)
Because of this, we should see vertical clipping both in the visual output of our program, and reported from our code:
Clipping Vertically
Clipping Vertically
Clipping Vertically
...Complete Code
Here are the final versions of our files after applying the cropping, positioning, and clipping logic from this lesson.
Files
Summary
In this lesson, we've explored several concepts for manipulating images in SDL3:
- Source and Destination Rectangles: We learned how to use
SDL_Rectstructures to control which parts of an image are rendered (source) and where they appear on screen (destination). - Cropping: We practiced selecting specific portions of an image by adjusting the source rectangle's dimensions and position.
- Positioning: We discovered how to place images at different locations on the screen by modifying the destination rectangle's
xandycoordinates. - Clipping: We understood how SDL3 handles situations where images don't fit entirely on the screen and learned to detect when clipping occurs manually using
SDL_GetRectIntersection().
In the next lesson, we'll see how we can control the size of our rendering, by blitting a larger or smaller copy of our image onto the destination surface.
Image Scaling and Aspect Ratios
Learn techniques for scaling images and working with aspect ratios