Images and Surface Blitting

Ryan McCombe
In this lesson, we’ll see how we can load images into SDL, and then display them in our window.
By default, SDL only supports images in the bitmap (.bmp) format. Soon, we’ll install an extension that allows us to work with many more image types. But for now, we’ll stick with bitmaps.
Let's acquire a bitmap image. A good place to get bitmap images is Google Image Search, using the filetype:bmp prefix. For example: filetype:bmp birds.
It's generally permitted to use any images you find for personal projects. However, if you plan on releasing work using images made by other people, ensure you have appropriate permission.
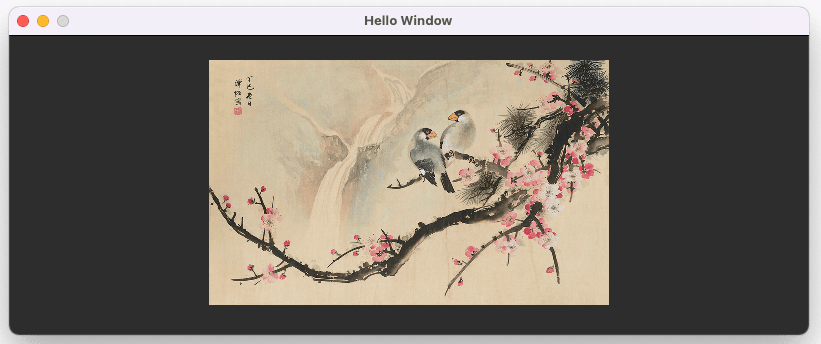
In this lesson, I’ll be using this image, which I've saved as birds.bmp:

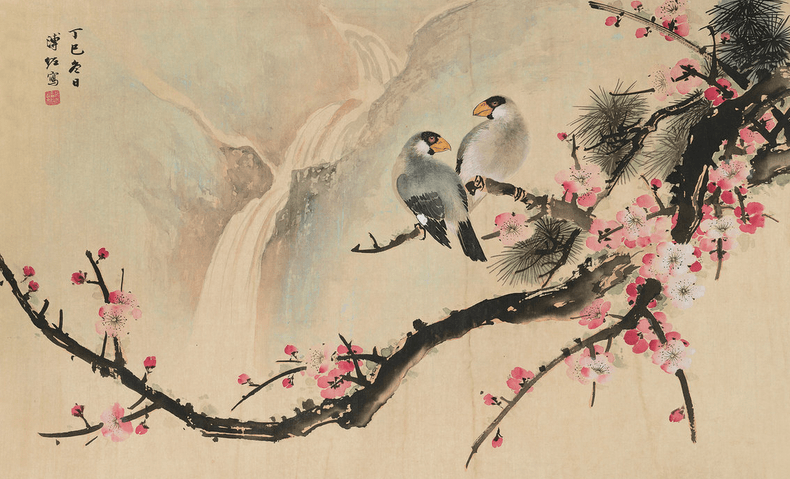
We should store our bitmap in the same folder as the executables we are creating, and use a filename that we will remember.
Where are our executables stored?
If you're using an IDE to launch run your programs, it may not be entirely obvious where it is storing your compiled files.
There's no standard here - it depends on what editor you're using, and how it is configured. Generally, they will be stored in the same location as your source code files. Within that directory, It may be in a folder with a name such as bin, build or "debug".
Alternatively, you can ask SDL to log out the directory your application is running from, using SDL_GetBasePath():
std::cout << SDL_GetBasePath();This code uses a Window class and main.cpp event loop using the techniques in previous lessons:
Window.h
#pragma once
#include <SDL.h>
class Window {
public:
Window() {
SDL_Init(SDL_INIT_VIDEO);
SDLWindow = SDL_CreateWindow(
"Hello Window",
SDL_WINDOWPOS_UNDEFINED,
SDL_WINDOWPOS_UNDEFINED,
800, 300, 0
);
SDLWindowSurface = SDL_GetWindowSurface(SDLWindow);
Update();
}
void Update() {
SDL_FillRect(
SDLWindowSurface,
nullptr,
SDL_MapRGB(SDLWindowSurface->format, 40, 40, 40)
);
}
void RenderFrame() {
SDL_UpdateWindowSurface(SDLWindow);
}
SDL_Surface* GetSurface() {
return SDLWindowSurface;
}
~Window() {
SDL_DestroyWindow(SDLWindow);
}
private:
SDL_Window* SDLWindow { nullptr };
SDL_Surface* SDLWindowSurface { nullptr };
};main.cpp
#include <SDL.h>
#include "Window.h"
int main() {
Window GameWindow;
SDL_Event Event;
while(true) {
while(SDL_PollEvent(&Event)) {
if (Event.type == SDL_QUIT) {
SDL_Quit();
return 0;
}
}
GameWindow.RenderFrame();
}
}Let's create a class to work with images. Our constructor will require the filename of the image we want to load:
#pragma once
#include <string>
class Image {
public:
Image(std::string Filename) {
}
}To load bitmaps into SDL, we use the SDL_LoadBMP function, passing the path to our file as a c-style string. For example:
SDL_LoadBMP("my-image.bmp");This function loads our image into an SDL_Surface and returns a pointer to that surface.
Let's update our constructor to make use of it:
#pragma once
#include <STL.h>
#include <string>
class Image {
public:
Image(std::string FileName) {
Surface = SDL_LoadBMP(FileName.c_str());
}
private:
SDL_Surface* Surface;
}When the surface is no longer needed, we should tell SDL. This allows SDL to release the memory that it allocated for that surface. We can do that using SDL_FreeSurface, passing a pointer to the surface.
Let's call it in the destructor:
#pragma once
#include <STL.h>
#include <string>
class Image {
public:
Image(std::string FileName) {
Surface = SDL_LoadBMP(FileName.c_str());
}
~Image() {
SDL_FreeSurface(Surface);
}
private:
SDL_Surface* Surface;
}Surface Blitting
We now have two surfaces - the surface associated with our window, and the surface created when we loaded our image.
We want to update the pixels values in our screen surface with pixel values from our image surface. Blitting is a computer graphics term that is used for this process.
The main way of blitting surfaces in SDL is through the SDL_BlitSurface function. This function takes 4 arguments:
- The surface we want to copy from (an
SDL_Surface*) - The area of that surface we want to copy (an
SDL_Rect*) - The surface we want to copy to (an
SDL_Surface*) - The area of that surface we want to copy to (an
SDL_Rect*)
Both of the SDL_Rect* arguments can be null pointers.
If the first is a null pointer, that tells SDL we want to copy the entire source surface.
If the second rectangle is a null pointer, that means it will be placed at the top left of the destination surface, and continue blitting pixels until there's either no more pixels on the source, or no more room on the destination.
Let's test it out by updating our constructor. We’ll send it a pointer to the Window surface, and then call SDL_BlitSurface:
public:
Image(
std::string FileName,
SDL_Surface* WindowSurface
) {
Surface = SDL_LoadBMP(FileName.c_str());
SDL_BlitSurface(
Surface, nullptr, WindowSurface, nullptr
);
}Over in main.cpp, let's connect everything together and verify it worked:
#include <SDL.h>
#include "Window.h"
#include "Image.h"
int main() {
Window GameWindow;
Image Birds { "birds.bmp", GameWindow.GetSurface()};
SDL_Event Event;
while(true) {
while(SDL_PollEvent(&Event)) {
if (Event.type == SDL_QUIT) {
SDL_Quit();
return 0;
}
}
GameWindow.RenderFrame();
}
}
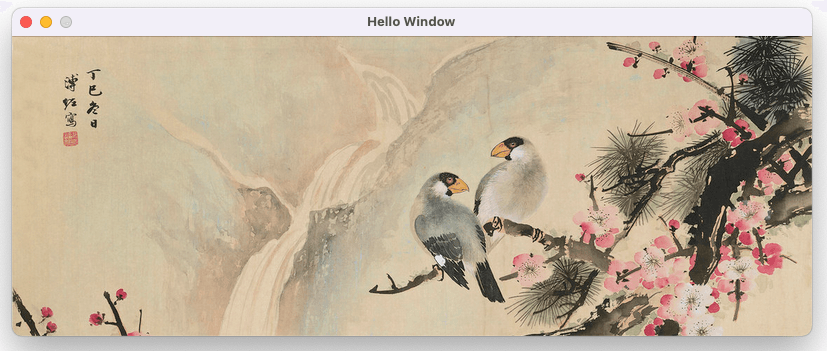
Image Cropping and Positioning
We can use the two SDL_Rect pointers passed to SDL_BlitSurface to crop and position our image.
The first rectangle lets us define a subset of the image we want to copy from.
The second rectangle lets us define the top left coordinates, and a maximum width and height we want to insert the image into.
Image(
std::string Filename,
SDL_Surface* WindowSurface
) {
Surface = SDL_LoadBMP(Filename.c_str());
SDL_Rect BirdCrop { 360, 80, 200, 200 };
SDL_Rect BirdPosition {
300, 50, BirdCrop.w, BirdCrop.h
};
SDL_BlitSurface(
Surface, &BirdCrop, WindowSurface, &BirdPosition
);
}
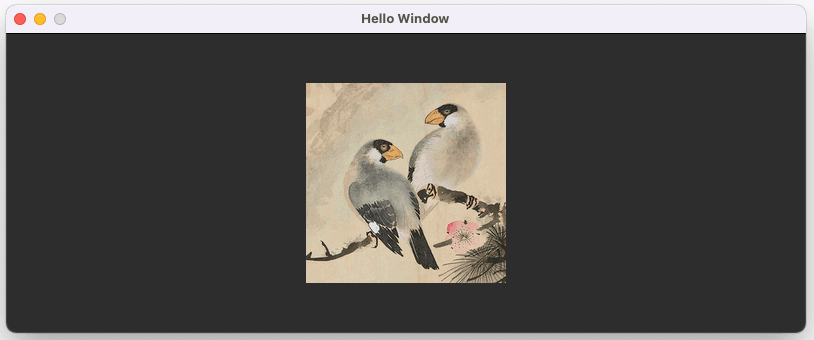
Image Scaling
SDL_BlitSurface does not change the size of the image when doing the transfer. The SDL_Rectangle arguments give us the option to crop, but the underlying image will be the same size on the destination surface as it was on the source.
To rescale images when blitting them onto another surface, we have SDL_BlitScaled
The argument list is exactly the same as SDL_BlitSurface. The main difference is that if the destination rectangle has a different dimension to the source rectangle, the source will be scaled up or down to fill the area.
Image(
std::string Filename,
SDL_Surface* WindowSurface
) {
Surface = SDL_LoadBMP(Filename.c_str());
SDL_Rect BirdCrop { 360, 80, 200, 200 };
SDL_Rect BirdPosition {
200, 0, BirdCrop.w * 2, BirdCrop.h * 2
};
SDL_BlitScaled(
Surface, &BirdCrop, WindowSurface, &BirdPosition
);
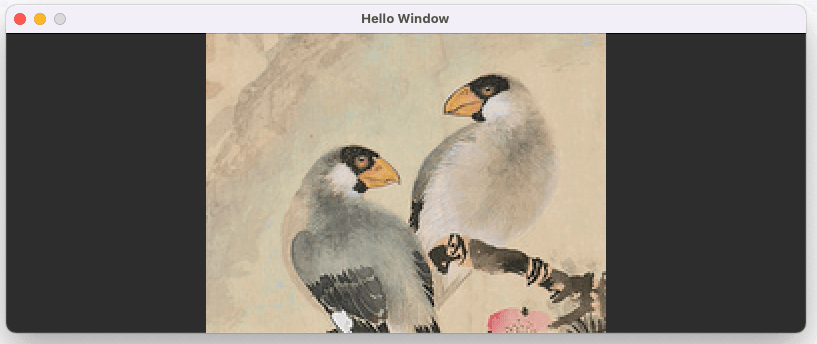
}Given our destination rectangle is larger than our source, our image is now scaled up in the output:

SDL_BlitScaled will also squash or stretch the image, if the source and destinations have different aspect ratios.
To control the blitting behaviour, it is useful to know what the original dimensions of our image were.
That is available from the surface created for it, through the w and h variables:
Image(
std::string Filename,
SDL_Surface* WindowSurface
) {
Surface = SDL_LoadBMP(Filename.c_str());
SDL_Rect BirdPosition {
200, 25, Surface->w / 2, Surface->h / 2
};
SDL_BlitScaled(
Surface, nullptr, WindowSurface, &BirdPosition
);
}Now, our original image was uniformly scaled down to half its original size:

Optimize Surface Blitting Performance
Surfaces can have different ways to store each pixel. For example, the window surface might use more memory per pixel than the surface generated when we loaded in our image.
How a surface stores its data is called the pixel format of the surface. It is available as the format member variable of SDL_Surface objects.
std::cout << SDL_LoadBMP("birds.bmp")->format
<< std::endl
<< WindowSurface->format;0x60000071fec0
0x60000071c340When we blit a surface onto one with a different format, every pixel needs to be converted. That can require significant work and, in real applications, we’ll typically be blitting things together very frequently.
Therefore, it’s generally better for performance to do the conversion only once, rather than on every blit.
We do that using the SDL_ConvertSurface function, passing in a pointer to our surface, and the format we want to convert to. For legacy reasons, we also need to pass the number 0 as the third argument to this function.
To convert the surface containing our image to match the format of the window surface we are blitting it onto, our function call would look like this:
SDL_ConvertSurface(Surface, WindowSurface->format, 0)This function returns a pointer to a new surface, which we can use from that point on for blitting.
We can also get rid of our initial surface, using FreeSurface:
Image(
std::string Filename,
SDL_Surface* WindowSurface
) {
// Create a temporary surface from our image
SDL_Surface* Temp {
SDL_LoadBMP(Filename.c_str())
};
// Create a new surface with the same format
// as the window surface
Surface = SDL_ConvertSurface(
Temp, WindowSurface->format, 0
);
// Release the temporary surface
SDL_FreeSurface(Temp);
// Blit our optimized surface onto the window surface
SDL_BlitSurface(
Surface, nullptr, WindowSurface, nullptr
);
}Complete Code
The final code is available here:
main.cpp
#include <SDL.h>
#include "Window.h"
#include "Image.h"
int main() {
Window GameWindow;
Image Birds { "birds.bmp", GameWindow.GetSurface()};
SDL_Event Event;
while(true) {
while(SDL_PollEvent(&Event)) {
if (Event.type == SDL_QUIT) {
SDL_Quit();
return 0;
}
}
GameWindow.RenderFrame();
}
}Window.h
#pragma once
#include <SDL.h>
class Window {
public:
Window() {
SDL_Init(SDL_INIT_VIDEO);
SDLWindow = SDL_CreateWindow(
"Hello Window",
SDL_WINDOWPOS_UNDEFINED,
SDL_WINDOWPOS_UNDEFINED,
800, 300, 0
);
SDLWindowSurface = SDL_GetWindowSurface(SDLWindow);
Update();
}
void Update() {
SDL_FillRect(
SDLWindowSurface,
nullptr,
SDL_MapRGB(SDLWindowSurface->format, 40, 40, 40)
);
}
void RenderFrame() {
SDL_UpdateWindowSurface(SDLWindow);
}
SDL_Surface* GetSurface() {
return SDLWindowSurface;
}
~Window() {
SDL_DestroyWindow(SDLWindow);
}
private:
SDL_Window* SDLWindow { nullptr };
SDL_Surface* SDLWindowSurface { nullptr };
};Image.h
#pragma once
#include <SDL.h>
#include <string>
class Image {
public:
Image(
std::string Filename,
SDL_Surface* WindowSurface
) {
SDL_Surface* Temp {
SDL_LoadBMP(Filename.c_str())
};
Surface = SDL_ConvertSurface(
Temp, WindowSurface->format, 0
);
SDL_FreeSurface(Temp);
SDL_BlitSurface(
Surface, nullptr, WindowSurface, nullptr
);
}
~Image() {
SDL_FreeSurface(Surface);
}
private:
SDL_Surface* Surface;
};Was this lesson useful?

Ryan McCombe

Game Dev with SDL2
Learn C++ and SDL development by creating hands on, practical projects inspired by classic retro games